How to Design a Charcuterie Board
Designing a charcuterie board is an art that blends culinary creativity with visual appeal. Whether you’re hosting a casual get-together or a sophisticated soirée, a well-crafted charcuterie board can be the centerpiece that leaves a lasting impression on your guests. This guide on how to design a Charcuterie Board will walk you through the essentials of creating a stunning and delicious charcuterie board, from selecting the right ingredients to arranging them aesthetically.
We’ll cover everything from color coordination and texture variety to board layout techniques and practical serving tips. By the end, you’ll have all the knowledge you need to create a charcuterie board that’s as beautiful as it is tasty.
So, roll up your sleeves and get ready to impress your friends and family with a charcuterie masterpiece that looks straight out of a gourmet magazine. Whether you’re a seasoned host or a newbie to the charcuterie world, these tips will elevate your presentation and make your gatherings unforgettable. Let’s dive in and start designing your perfect charcuterie board!
Aesthetic Arrangements
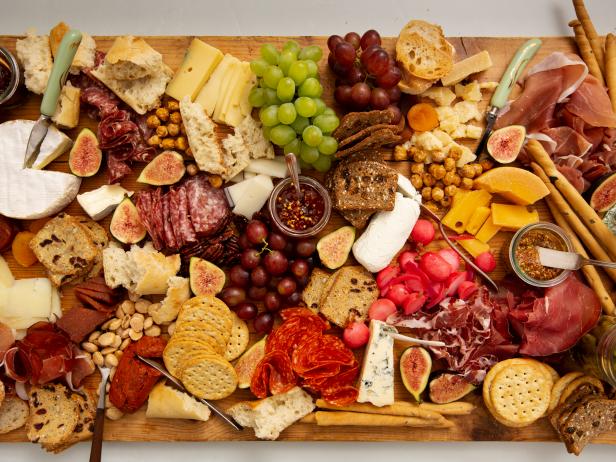
Designing a charcuterie board isn’t just about taste; it’s also about creating a visually appealing presentation that will impress your guests and make your food look as good as it tastes. Here’s how to master the aesthetics:
Color Coordination
When it comes to creating a beautiful charcuterie board, color coordination is key. Here are some tips to help you make your board pop:
- Use a Variety of Colors: Aim to include a range of colors on your board. Think deep reds from cured meats, vibrant greens from herbs and vegetables, and bright oranges and yellows from fruits.
- Balance Bold and Neutral Tones: Mix bold colors with more neutral tones to create a balanced and appealing look. For example, pair bright red strawberries with creamy white cheeses and light brown crackers.
- Create Contrasts: Position contrasting colors next to each other to make each ingredient stand out. For instance, place dark grapes next to pale-colored cheese.
- Consider Seasonal Colors: Reflect the season’s palette on your board. In summer, go for bright and fresh colors, while in fall, opt for warmer, earthy tones.
Texture Variety
Variety in texture is just as important as color coordination in making a charcuterie board that’s not only beautiful but also exciting to eat. Here’s how to incorporate different textures effectively:
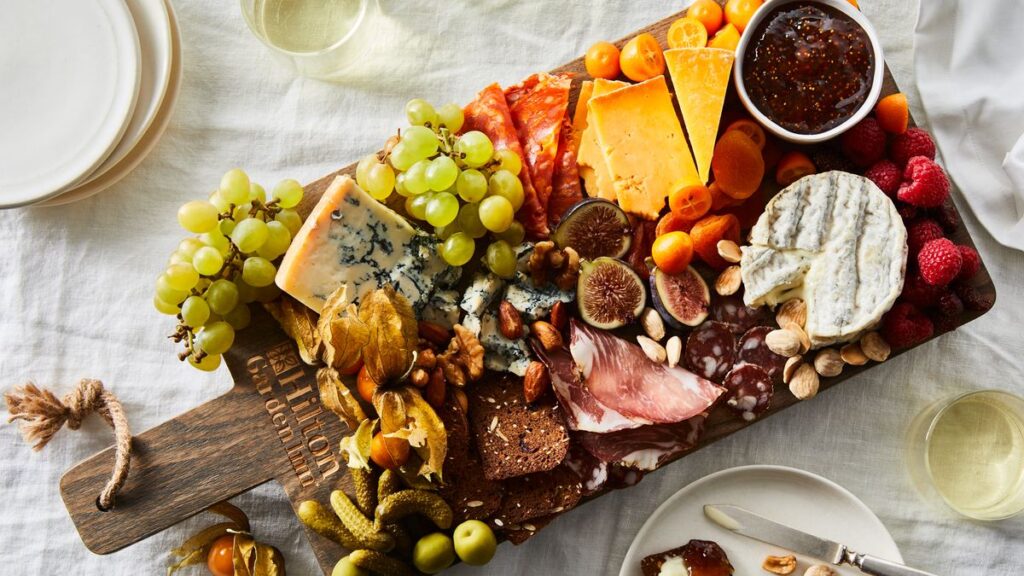
- Combine Soft and Hard Cheeses: Offer a range of cheese textures, from soft, spreadable brie to firm, crumbly cheddar. This variety provides a more interesting experience for your guests.
- Mix Crunchy and Creamy: Pair crunchy items like nuts and crackers with creamy dips and spreads. The contrast in textures makes each bite more enjoyable.
- Incorporate Fresh and Dried Fruits: Use a mix of fresh fruits (like grapes and berries) and dried fruits (like apricots and figs). This not only adds texture but also different levels of sweetness.
- Use Meats with Different Textures: Include a variety of meats, such as thinly sliced prosciutto, thicker salami, and chunky pâté. Each type of meat adds a unique texture to the board.
Board Layout Techniques
The layout of your charcuterie board plays a crucial role in its overall appeal. By using effective layout techniques, you can create a board that is both functional and visually stunning.
Layering and Stacking
Layering and stacking are essential techniques for maximizing the space on your charcuterie board and adding visual interest. Here’s how to master these techniques:
- Start with a Base Layer: Lay down larger items first, such as wedges of cheese, piles of sliced meats, and clusters of fruits. This creates a foundation for your board.
- Add Height with Stacking: Stack items like crackers, breadsticks, and sliced meats to add height and dimension to your board. For example, create a small pile of crackers or roll slices of meat into cones or roses.
- Layer Different Textures: Place items with different textures next to each other to create a pleasing contrast. For instance, layer crunchy nuts next to soft cheese or juicy fruits.
- Overlap Ingredients: Overlapping ingredients slightly can create a cohesive look. For example, fan out slices of cheese so they overlap each other, or nestle clusters of grapes next to a wedge of cheese.
Creating Focal Points
Creating focal points on your charcuterie board helps guide the eye and makes the board more visually appealing. Here’s how to create effective focal points:
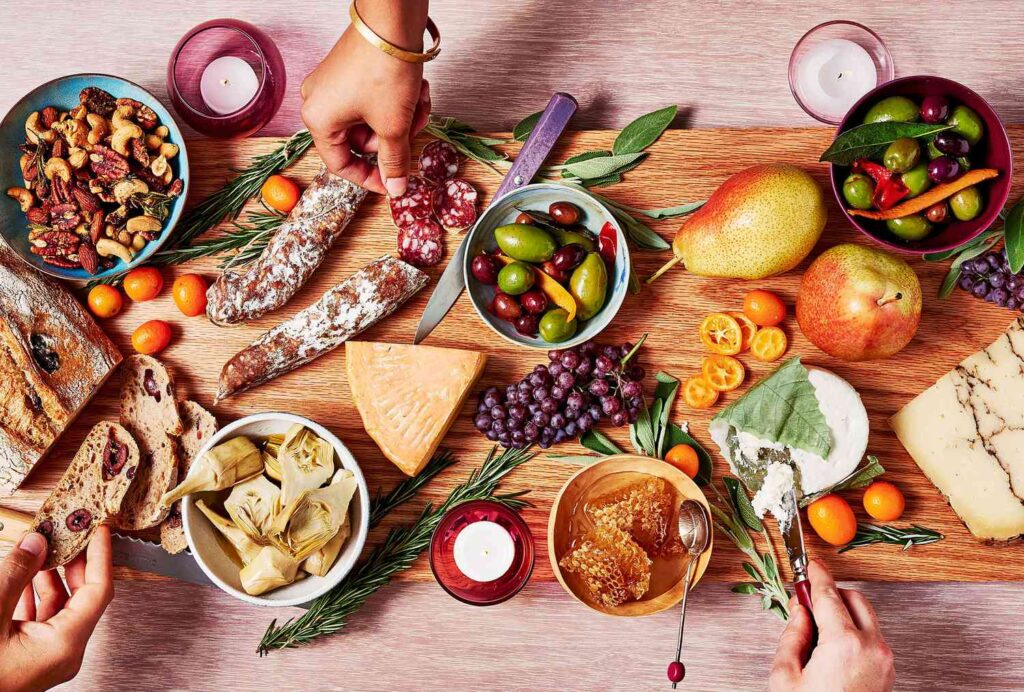
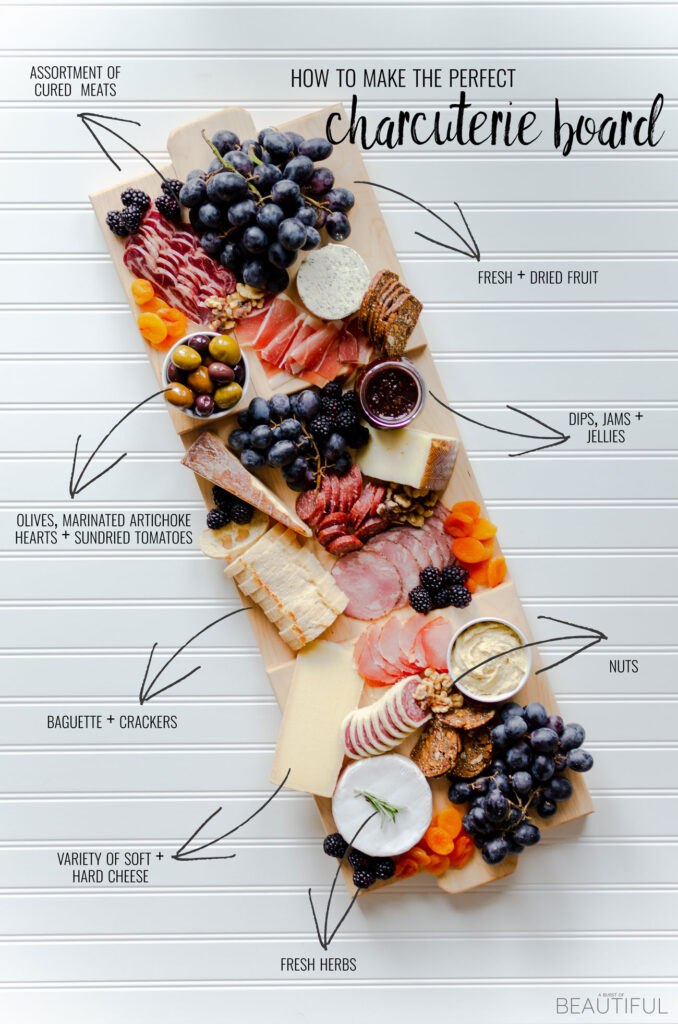
- Highlight Key Ingredients: Choose a few standout items to serve as focal points. These could be a particularly beautiful wedge of cheese, an eye-catching cluster of grapes, or a bowl of colorful olives.
- Use Small Bowls and Dishes: Place small bowls or dishes of dips, spreads, or nuts strategically around the board to create focal points. These not only add visual interest but also keep items contained and easy to access.
- Vary the Sizes of Ingredients: Use a mix of large and small items to create visual interest. For example, place a large wheel of brie in one corner and a small pile of nuts in another.
- Balance the Board: Distribute focal points evenly around the board to create balance. If you have a large wedge of cheese in one corner, balance it out with a cluster of fruit or a small bowl of olives in the opposite corner.
Portion Sizes and Serving
Knowing how much to serve and the best ways to present your charcuterie board can make a big difference in your guests’ experience. Here’s how to get it right.
Determining Portions for Guests
Getting the portion sizes right ensures that everyone leaves satisfied without too many leftovers. Here are some guidelines to help you determine the right amount:
- Consider the Number of Guests: A good rule of thumb is to plan for about 2-3 ounces of cheese and 2-3 ounces of meat per person. Adjust these amounts based on the number of guests.
- Account for Other Food: If your charcuterie board is the main attraction, you might want to increase the portion sizes. If it’s just an appetizer, the standard portions will suffice.
- Include a Variety: Offering a range of items (cheeses, meats, fruits, nuts, etc.) means you don’t need large quantities of each. The variety itself will make the board feel abundant.
- Factor in Guest Preferences: Know your audience. If your guests are cheese lovers, you might want to lean more heavily on a variety of cheeses. If they prefer meats, adjust accordingly.
Practical Serving Tips
Serving your charcuterie board in a way that’s both practical and stylish enhances the overall experience. Here are some tips to keep in mind:
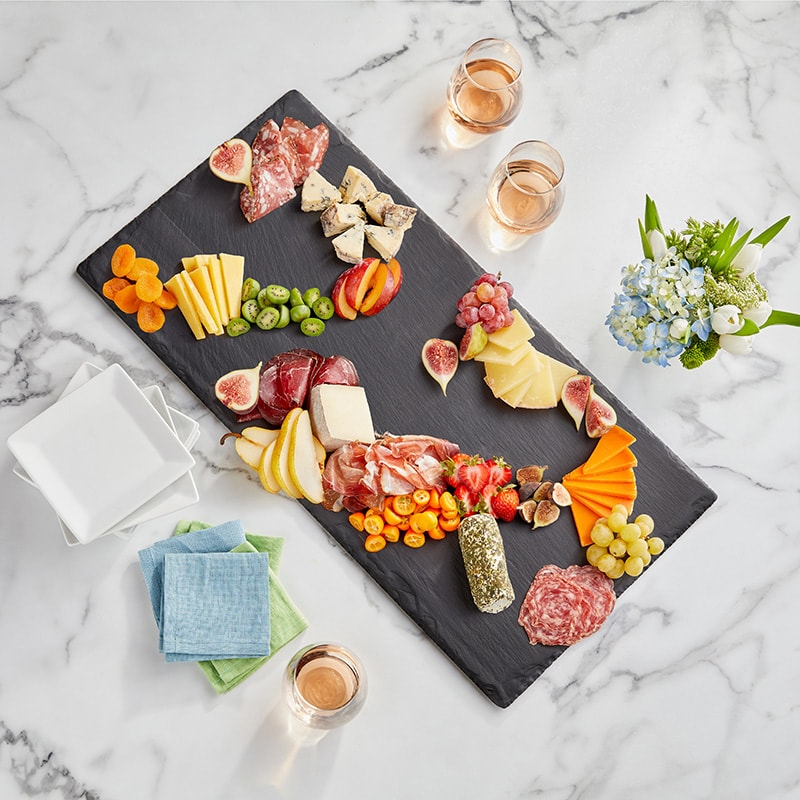
- Pre-Cut and Pre-Slice: Pre-cut cheeses and meats into bite-sized pieces. This makes it easier for guests to grab and go, and it looks more inviting.
- Provide Utensils: Include small tongs, toothpicks, and spreaders for items like olives, spreads, and cheeses. This keeps things hygienic and helps guests serve themselves easily.
- Label Items: If you’re serving a variety of cheeses and meats, consider labeling them with small tags or a chalkboard. This helps guests know what they’re eating and can spark interesting conversations.
- Keep Refilling in Mind: Arrange the board so that it’s easy to refill as items run out. Have extra supplies of popular items like crackers and breadsticks nearby.
- Balance Aesthetics with Practicality: While a beautiful arrangement is important, ensure that guests can easily access and enjoy each item without disrupting the entire board.
These portioning and serving tips will help ensure your charcuterie board is not only visually appealing but also practical and enjoyable for your guests. Let me know if you’d like to continue with another section or make any adjustments!
